

How To Make A Transparent Background In Inkscape
Introduction to Inkscape transparent background
In this article we are going to learn how to make transparent background in Inkscape. There are many reasons why you need to make background transparent. If you want to put the put a field of study or logo for instance on to another epitome or yous desire to utilize information technology as a watermark. Or you might take taken the shot on a light-green screen groundwork which is spring to exist replaced by the scene you desire to portray. And then even if the image is same and when you make the background transparent it has different effect on dissimilar backgrounds. Then, whatever the utilise case maybe we will start by removing groundwork using multiple techniques in Inkscape.
Steps of Inkscape transparent background
Here are the following steps mention below
Stride 1: When y'all open up the Inkscape application you will exist greeted with a blank A4 page. For our purposes we volition first go to Document Backdrop from the file carte or yous tin printing Shift + Ctrl + D.
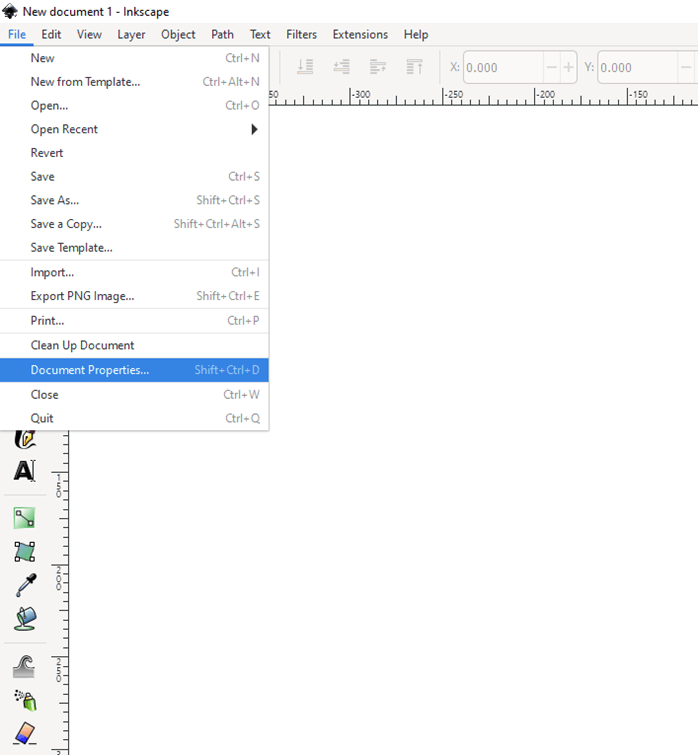
Step 2: Here untick bear witness page borders which will remove the folio preview shown and keep other options to the default values.

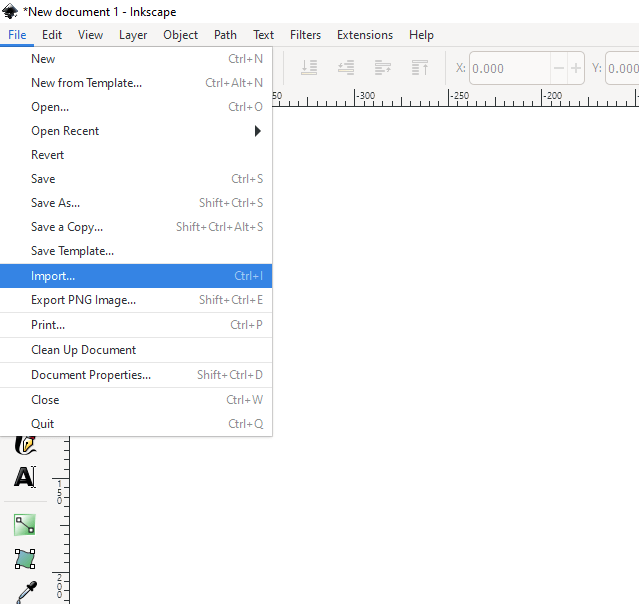
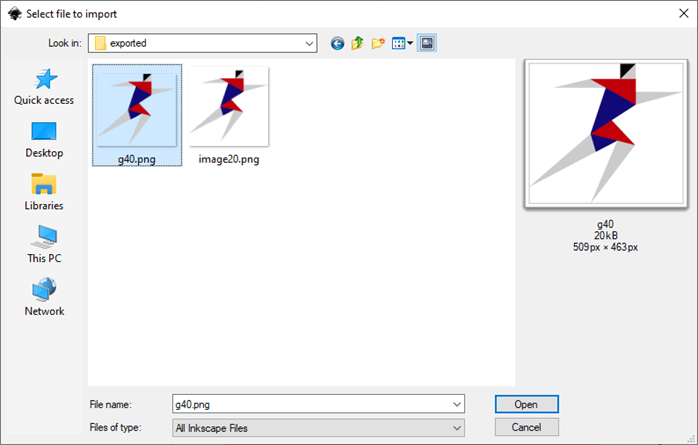
Stride 3: At present since we demand to remove the groundwork from the paradigm or in other words go far transparent for that nosotros start import the file from the file menu or press Ctrl + I
Step four: And then navigate where for file is in our case it is athletics.jpg which nosotros open up from the dialog window.
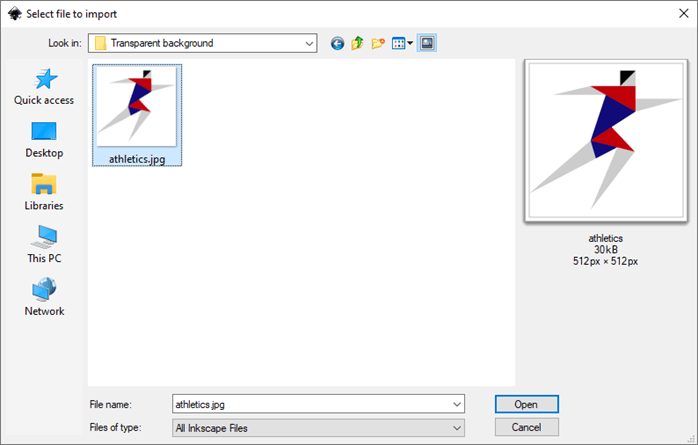
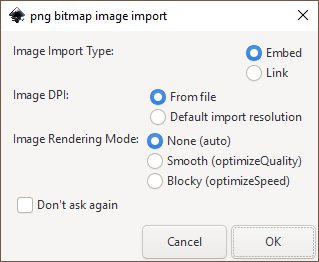
Footstep 5: Then we volition exist greeted with a jpg bitmap image import dialog in which we keep all the defaults and click OK. If you always use the defaults and then at that place is likewise an option for Don't ask over again which you can tick.

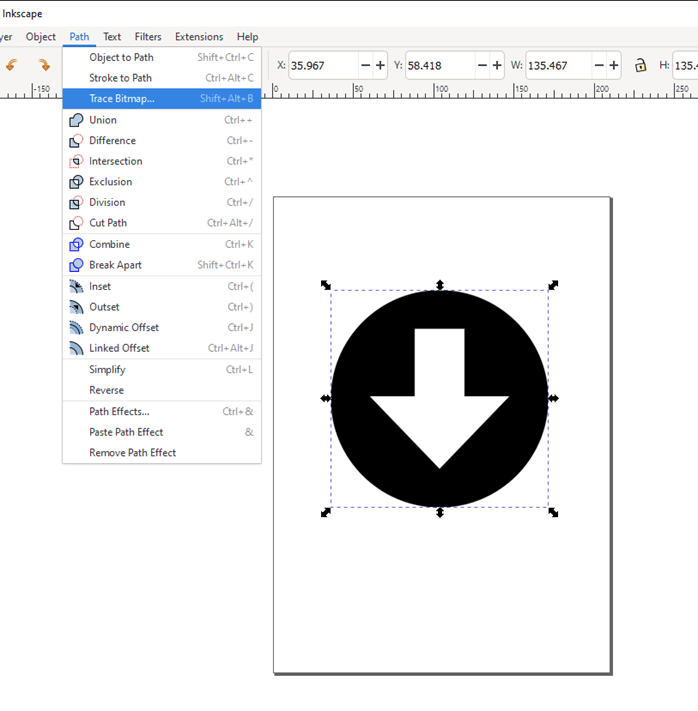
Step 6: At present the offset method which we will use is the bitmap tracing which tin be done from Path -> Trace Bitmap or press Shift + Alt + B. Bitmap tracing as the name suggest is a process of making vector from the bitmap by redrawing the paradigm.
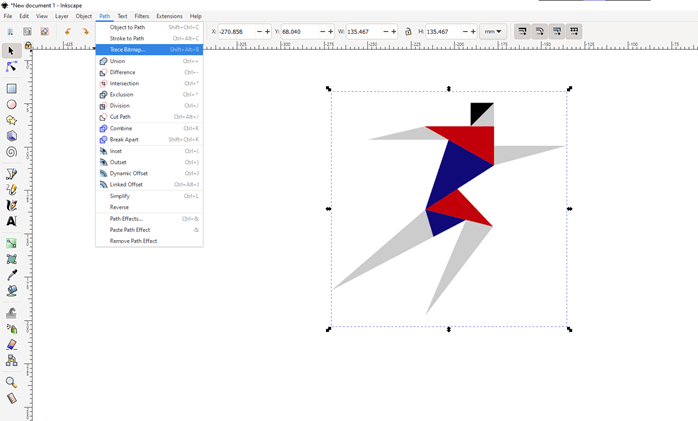
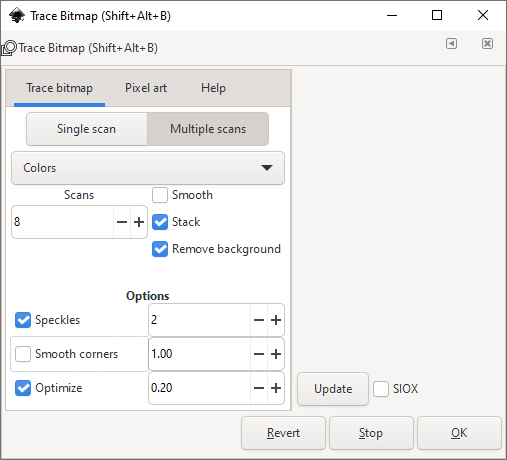
Step 7: In the Trace Bitmap tab select multiple scans tab in that uncheck smooth and check stack and remove background also uncheck smooth corners and and then click OK and then close the Trace Bitmap dialog
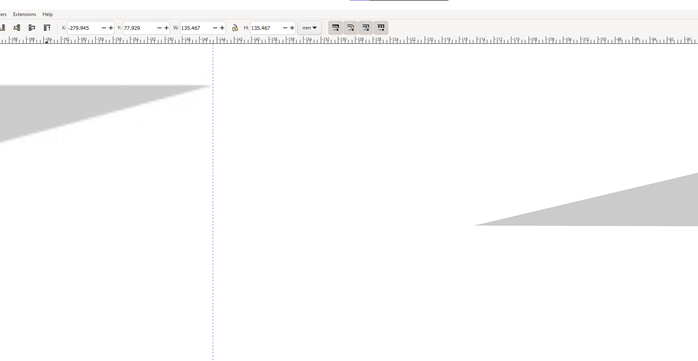
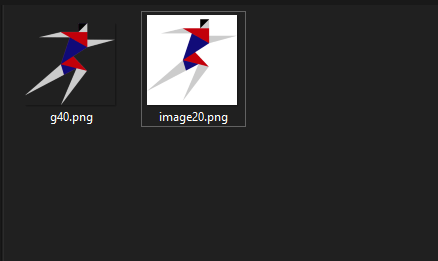
Step viii: The traced image will be on the original paradigm equally shown
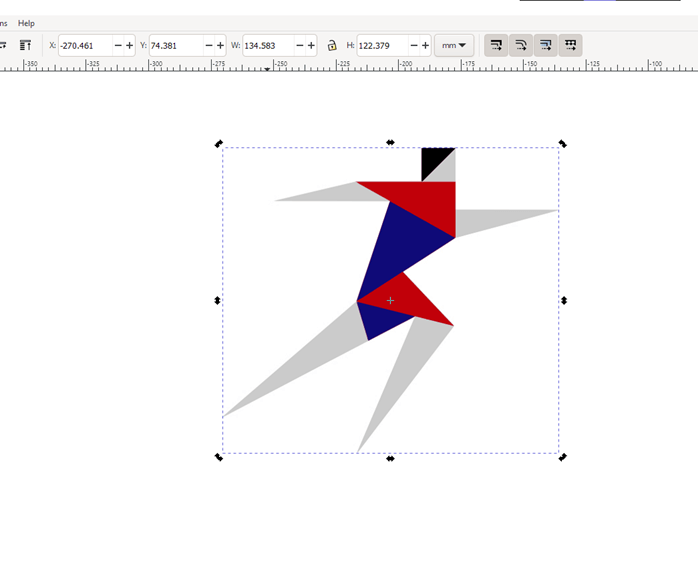
Footstep 9: Y'all can elevate the traced image to the side to see the original image.
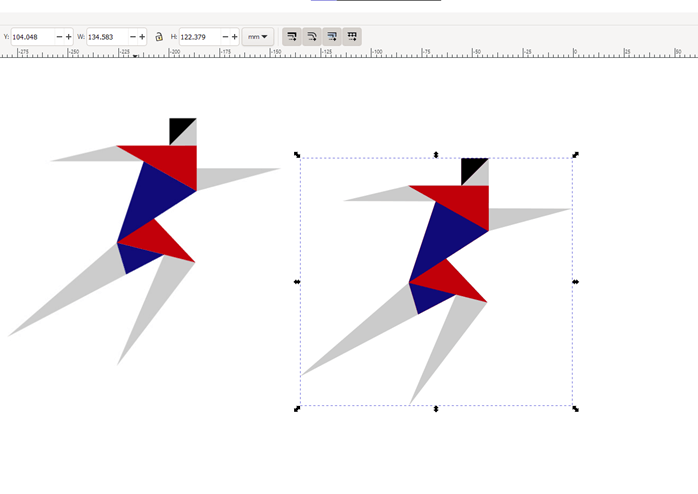
Step 10: When we zoom in and run into closely we observe that the original image has jagged edges since it is a bitmap and the traced image is smooth every bit it is converted into a vector after image tracing.
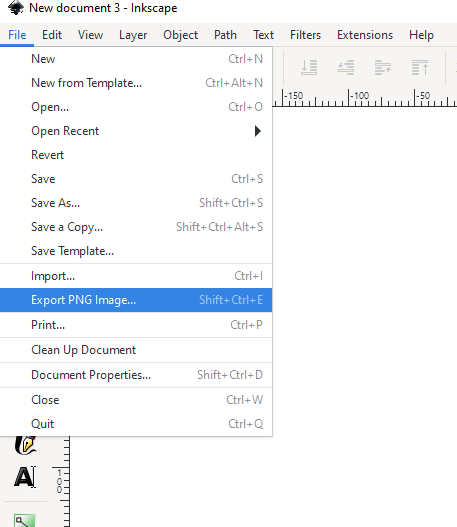
Pace xi: Adjacent we go to File then Consign PNG Epitome or press Shift + Ctrl + East to verify that the background is removed.
Pace 12: Outset we select the original image and so select the destination folder and make sure export selection is selected, then click Export.
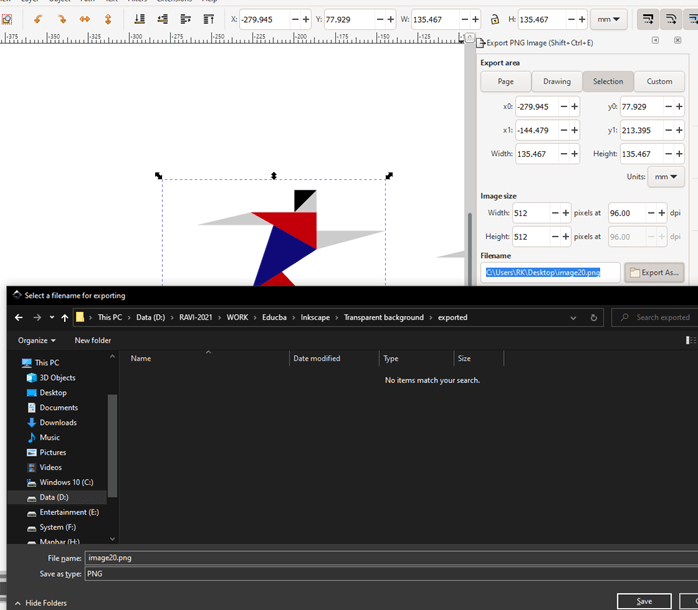
Stride 13: And so we select the traced image and then select the destination folder and make sure export selection is selected, then click Export.
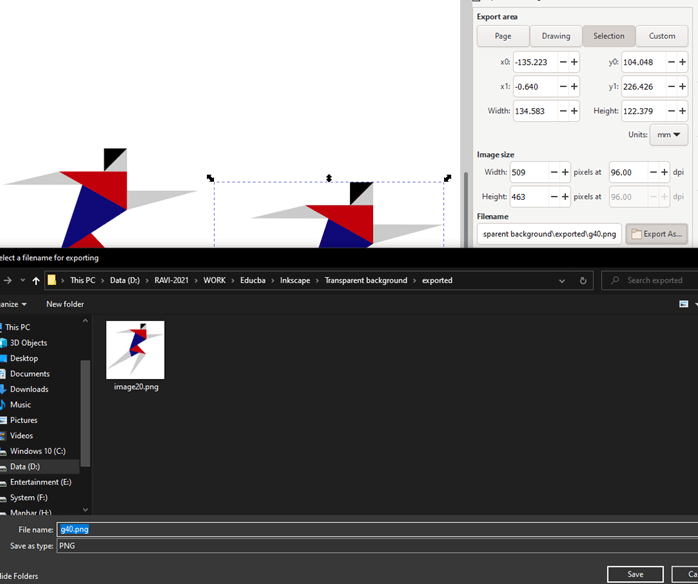
Stride fourteen: As we can see in explorer that i image has transparent groundwork and the other still has the white background.
Step 15: Now we close this certificate from File bill of fare or press Ctrl + W. Ane quirk of Inkscape is that new documents are created in new windows instead of separate tabs. And then, when you close a document a new document is automatically created.
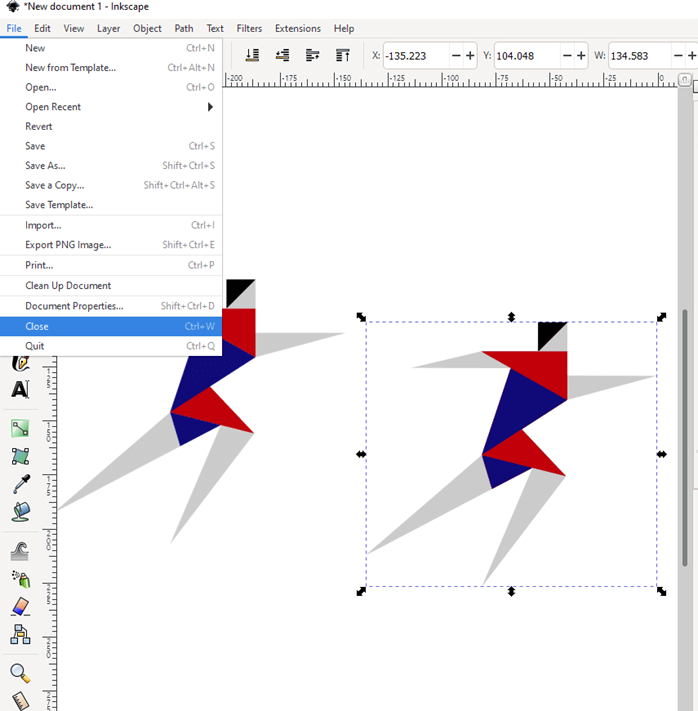
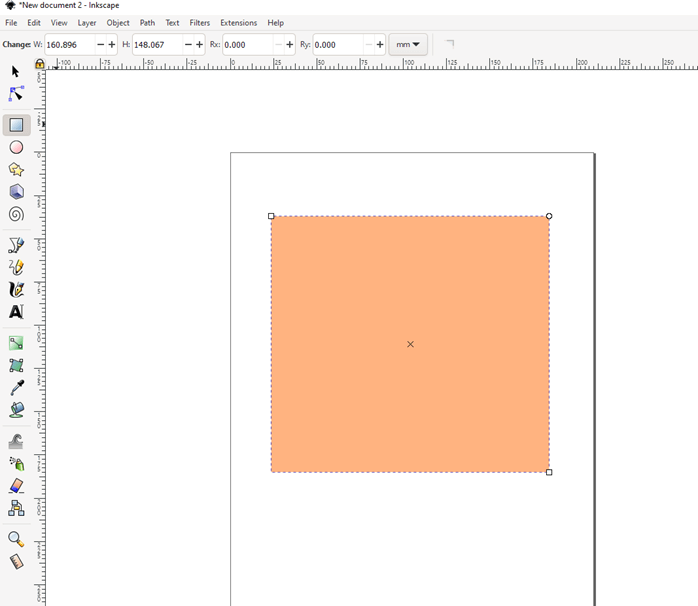
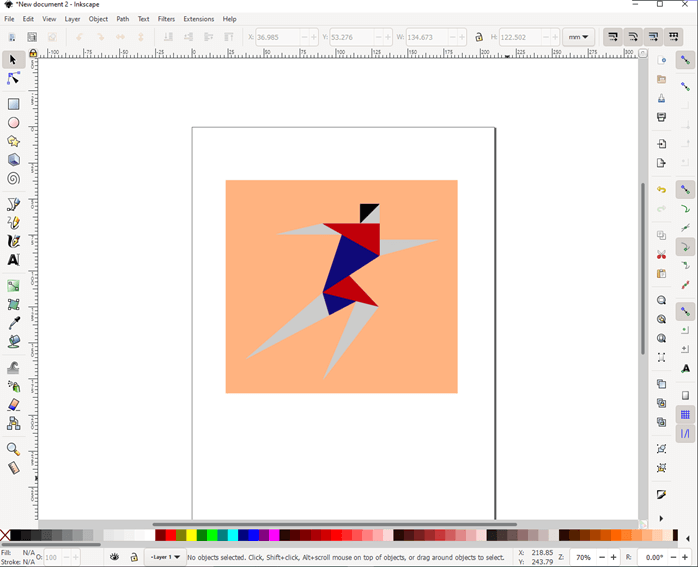
Step 16: Next in a new document we create a rectangle and give any make full from the colour picker in bottom above the condition bar.
Pace 17: Then we import the transparent background paradigm from the file bill of fare.
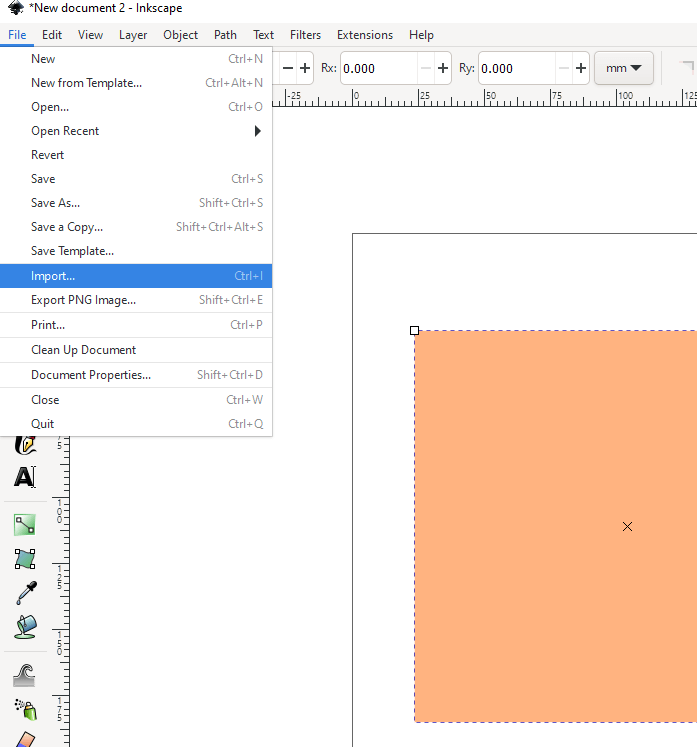
Footstep 18: Navigate to the transparent background file and click open.
Step nineteen: Then from png bitmap epitome import dialog go on all the default settings and click OK.
Stride 20: Adapt the image on the rectangle and you tin encounter that the groundwork is totally transparent.
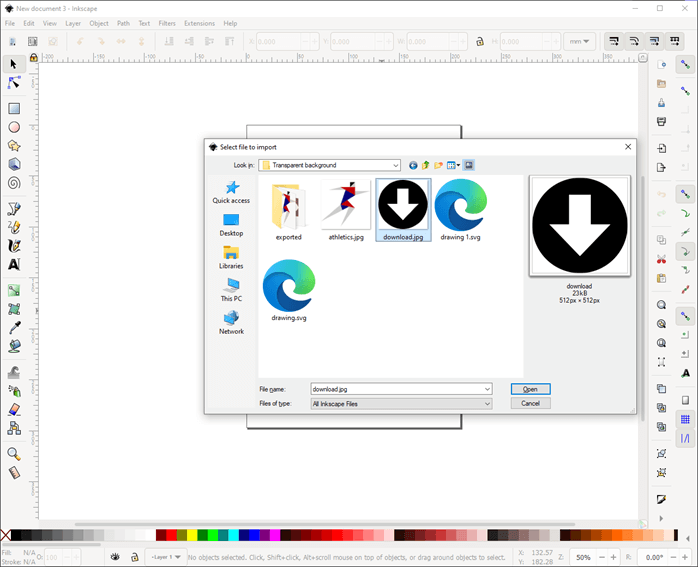
Step 21: Now we will look at some other method of making background transparent which is by using selection method. Inside a new document import the file which has a groundwork.
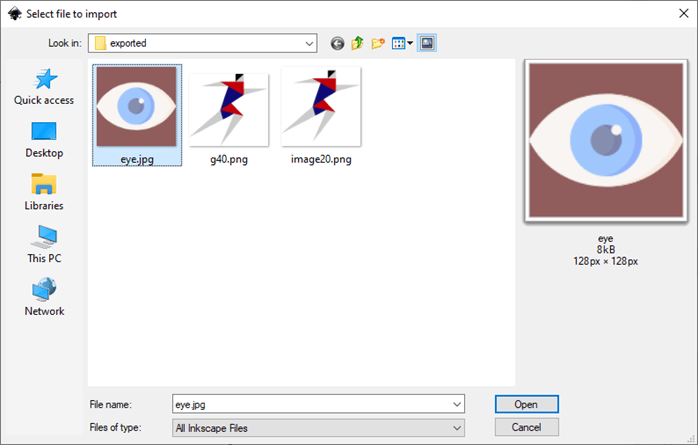
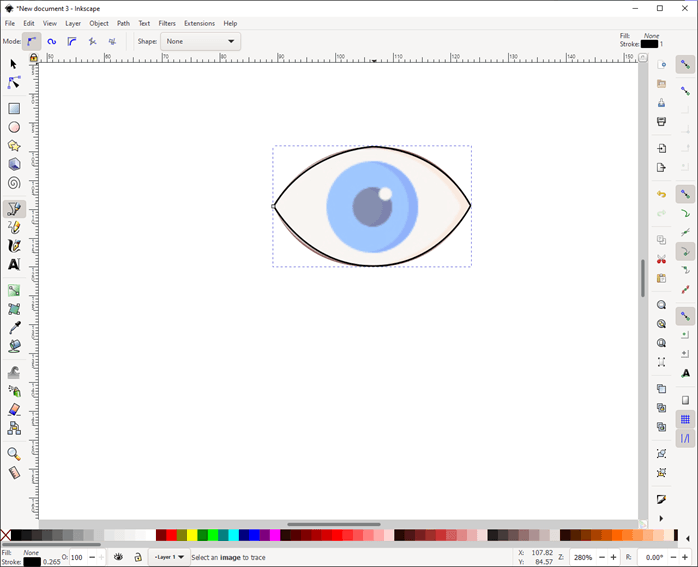
Step 22: Now nosotros will use depict Bezier curves and straight lines to brand a selection of the eye.
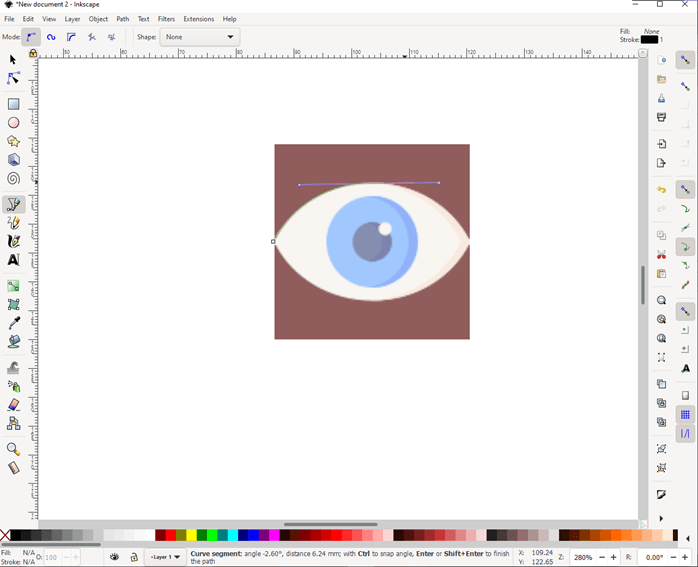
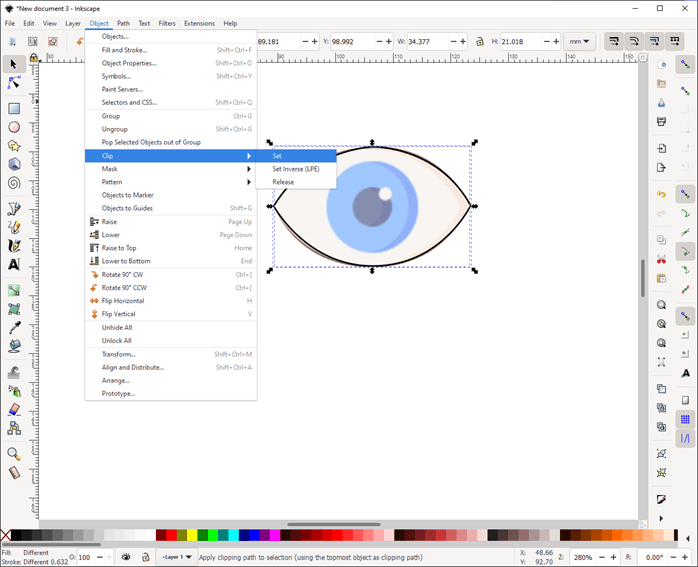
Stride 23: Once the choice is made so select both the curve and the paradigm then go to Object -> Prune -> Set which will prune all the areas outside the curve.
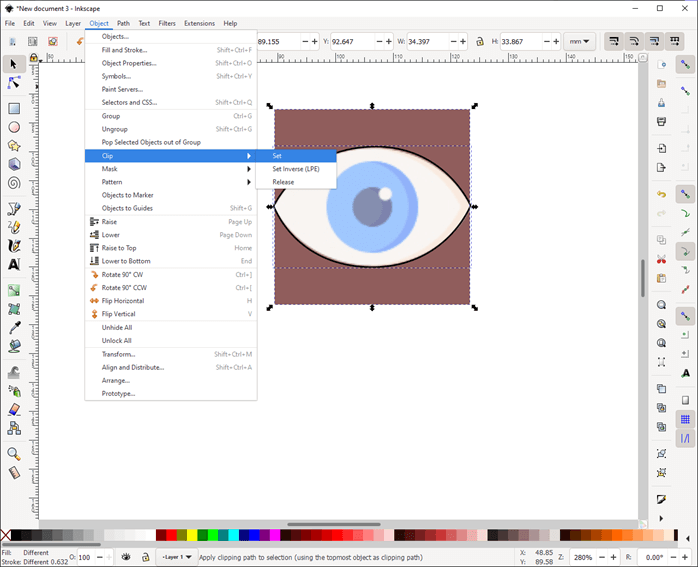
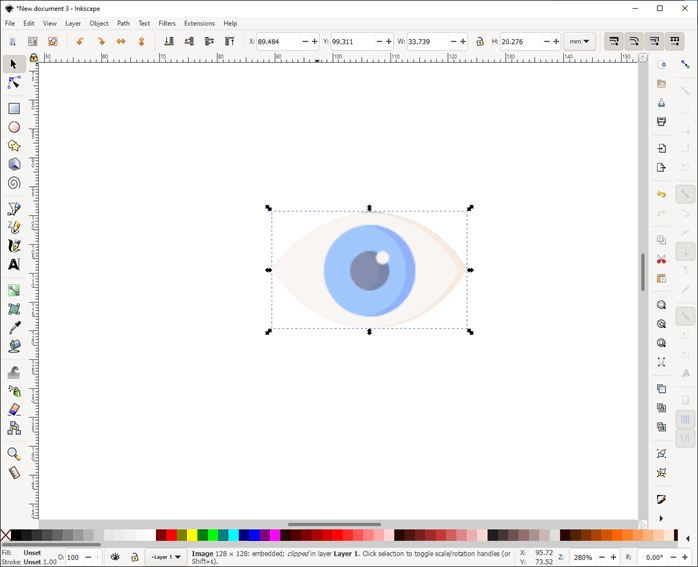
Step 24: As nosotros tin can run into the area outside the curve is clipped only we can still fine melody it
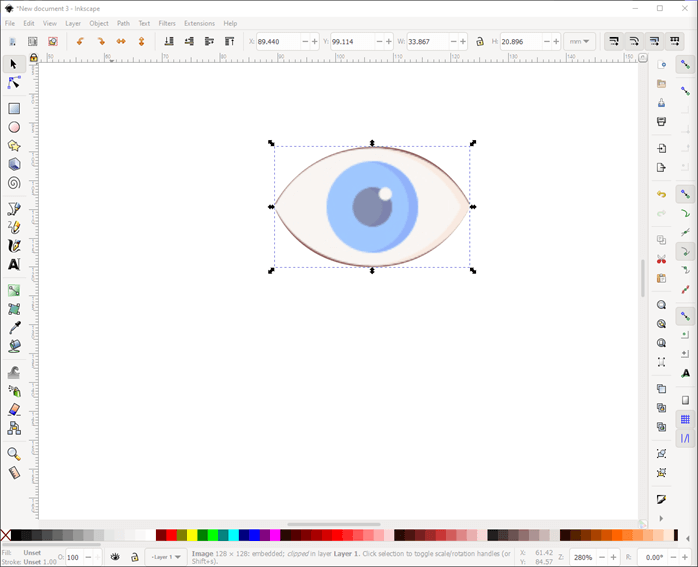
Footstep 25: So nosotros tin can over again make the pick using a Bezier bend tool.
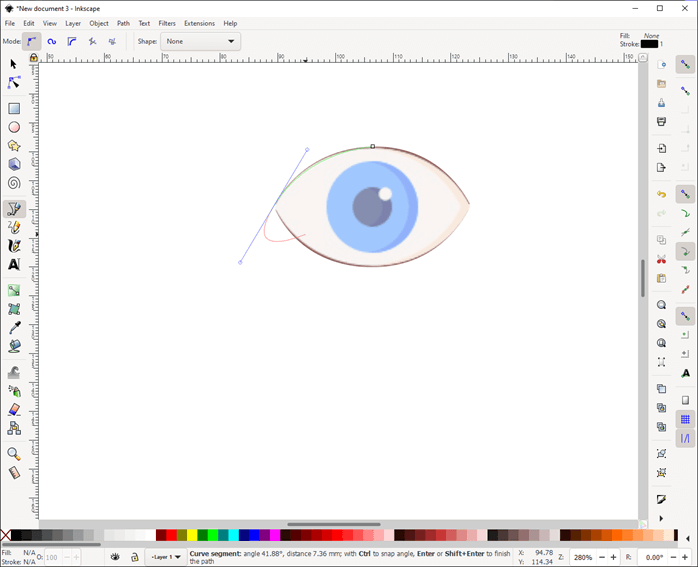
Pace 26: We will adjust the curve so that we get the area which we want.
Step 27: Again we volition select both the path and the image and use prune -> set from the object carte du jour.
Pace 28: As a upshot of higher up steps we have made the transparent background using Inkscape.
Step 29: We can besides remove background from a blackness and white image. Get-go, nosotros volition import the image in a new document.
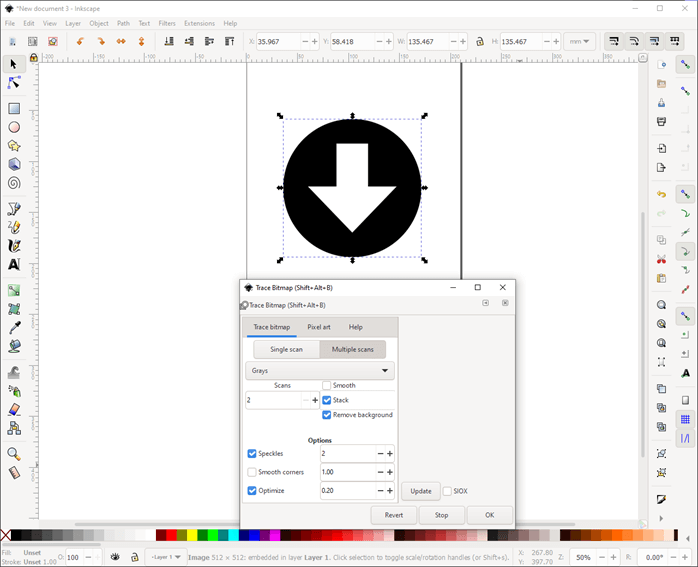
Footstep 30: And so we can trace bitmap from the path carte as always.
Stride 31: Then in multiple scans tab we select Grays from the dropdown as there is not color and set the number of scans to two as at that place is only black and white color, uncheck smooth and bank check stack and remove background. Also uncheck smooth corners.
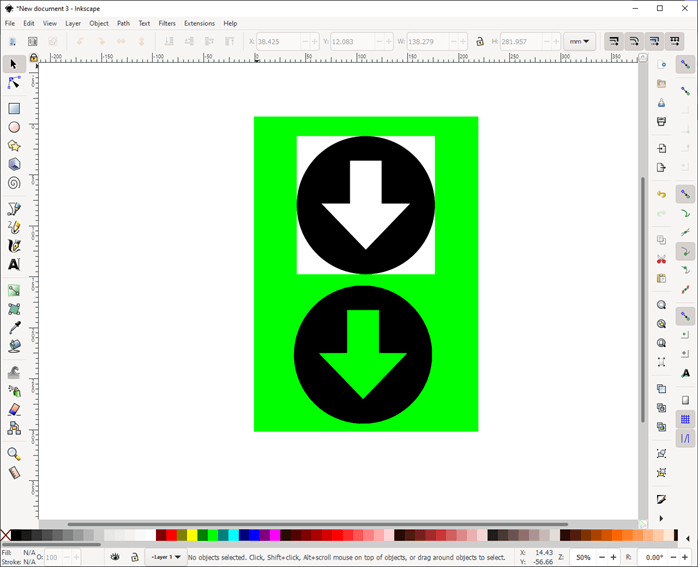
Step 32: Again, when we compare the 2 images adjacent, we can meet that we accept made the image groundwork transparent.
Conclusion
In this article we have seen how to brand transparent background in Inkscape. Firstly, we have started with removing groundwork using prototype tracing which removes the white background. Then we have looked other techniques by using Bezier curves and so clipping the outside areas to testify the but the within of the curve. Hence, we have now successfully removed the groundwork which tin can be used for any applications similar we and more.
Recommended Articles
This is a guide to Inkscape transparent background. Hither nosotros discuss how to make transparent background in Inkscape along with the steps. You may too have a look at the following articles to learn more –
- Inkscape Alternatives
- What is Inkscape?
- Wrike Alternatives
- 3ds Max Interior Design

How To Make A Transparent Background In Inkscape,
Source: https://www.educba.com/inkscape-transparent-background/
Posted by: easterdaytandon55.blogspot.com
0 Response to "How To Make A Transparent Background In Inkscape"
Post a Comment